Skip to primary navigation
Skip to main content
Skip to primary sidebar
Recipes
About
Contact
Press
Search
Archives for December 2012
16 Bean and Kale Soup
Shrimp and Feta Risotto
Maple Apple Crunchy Superfood Granola
Rosewater Fritters (Zalabia or Lokma)
Roasted Red Pepper and Artichoke Tapenade with Crostini
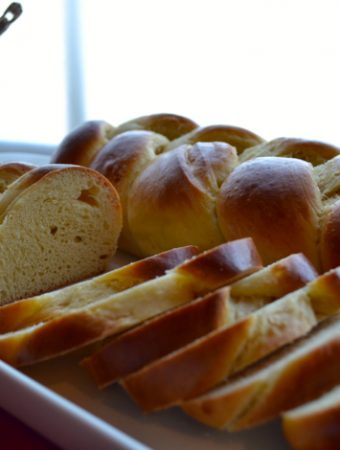
Armenian Easter Bread (Choereg)
Cranberry Pear Christmas Sangria
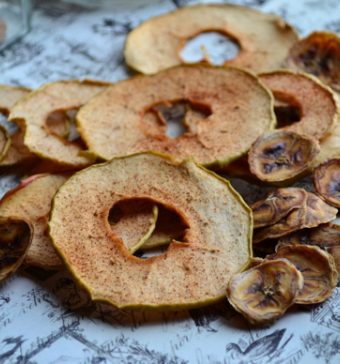
Baked Apple and Banana Chips
Macaroni Au Four
Baked Cider Donuts
Cranberry Pistachio Bread Pudding
Turkey Meatloaf
Page
1
Page
2
Go to
Next Page »