Skip to primary navigation
Skip to main content
Skip to primary sidebar
Recipes
About
Contact
Press
Search
healthy
Vegan Banana Bread
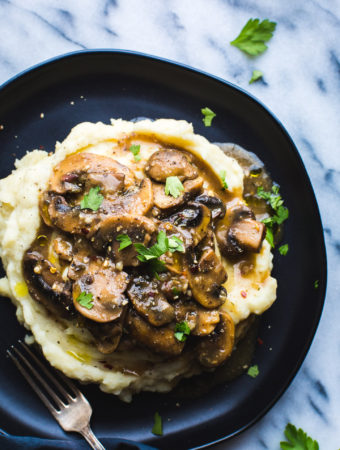
Mushroom Miso Gravy over Garlic Mashed Potatoes
Spinach and Artichoke Stuffed Mushrooms
Tortilla Soup
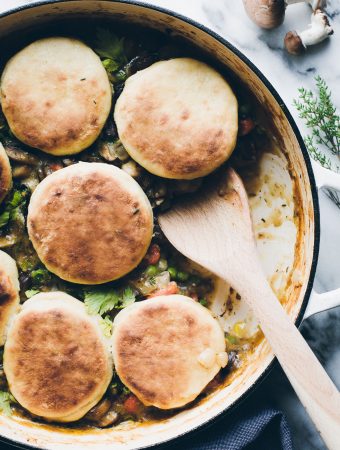
Vegetable Pot Pie with Olive Oil Biscuits
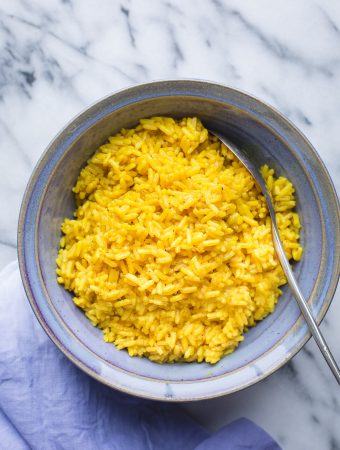
Yellow Rice
Vegetable Shepherd’s Pie
Vegetable Stuffed Portabella Mushrooms
Almond Coffee Green Smoothie
Creamy Steel Cut Oats with Roasted Pears
Baked Butternut Maple Crisp
Portobello Fig and Feta Skillet Rice
Page
1
Page
2
Page
3
Interim pages omitted
…
Page
12
Go to
Next Page »