Skip to primary navigation
Skip to main content
Skip to primary sidebar
Recipes
About
Contact
Press
Search
vegetarian
Seeded Soda Bread
Vegan Banana Bread
Vegetable Paella
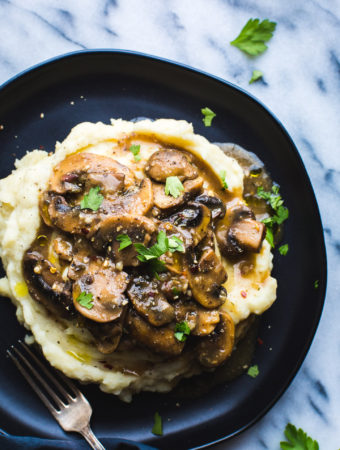
Mushroom Miso Gravy over Garlic Mashed Potatoes
Spinach and Artichoke Stuffed Mushrooms
Tortilla Soup
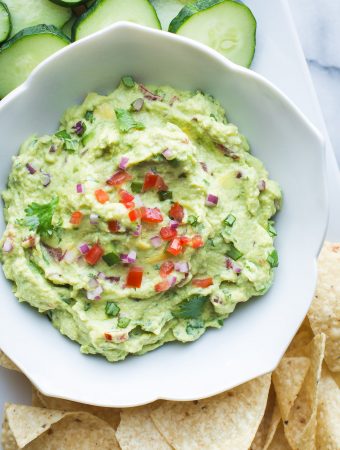
Edamame Guacamole
Vegan Baked Apple Cider Donuts
Seared Sriracha Green Beans
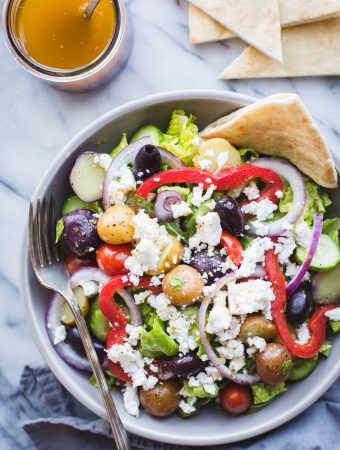
Greek Salad with Baby Potatoes
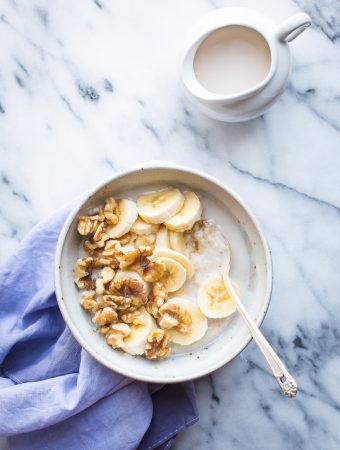
Creamy Oat Bran Porridge
Vegetable Shepherd’s Pie
Page
1
Page
2
Page
3
Interim pages omitted
…
Page
11
Go to
Next Page »